PylonTech US3000C with a LUX LXP3600 Inverter
What? New Battery Not Recognised?Introduction
My home set-up consists of two parallel LUX LXP3600 inverters with two banks (strings) of six PylonTech US3000 Lithium Iron Phosphate (LiFePo) 3.5kWh battery banks. This was giving me a usable 18kWh of battery storage to run my house from. The batteries are charged during the nighttime off-peak (circa 2021 was 5p/kWh) during 00:30 to 04:30. Since I joined Octopus Energy’s Intelligent Tariff, my rates are now 30p/kWh peak and 7.5p/kWh cheap between 23:30 to 05:30 plus any other cheap slots that become available.
Lithium Ion Phosphate batteries are very reliable and can hold an indefinite charge of beween 10% to 100%. This is called a Depth of Discharge (DoD) of 90%. For normal running, I set the window of usable energy to 20% to 100% because this leaves me with 10% for emergency UPS power and also prolongs the battery life to over 15 years (most likely 25 years).
However, I recently purchased two US3000C LiFePo batteries to add onto my existing US3000B set and it didn’t work. The LUX inverter was reporting a total battery capacity of 0Ah when it should have been 200Ah for 4 x US3000 batteries. After a conversation with LUX and PylonTech engineers in China, they got back to me with the cause.
Please note that the installation must have all of the ground wires connected together. The earth connection of the Lux Inverter MUST be daisy-chained to each PylonTech battery. As an essential for safety reasons, this is very important for the communications; even though they are using differential communications, the communication will only work as long as the common grounds lie within each other individual pieces of equipment.
Let’s Make a CAN Cable
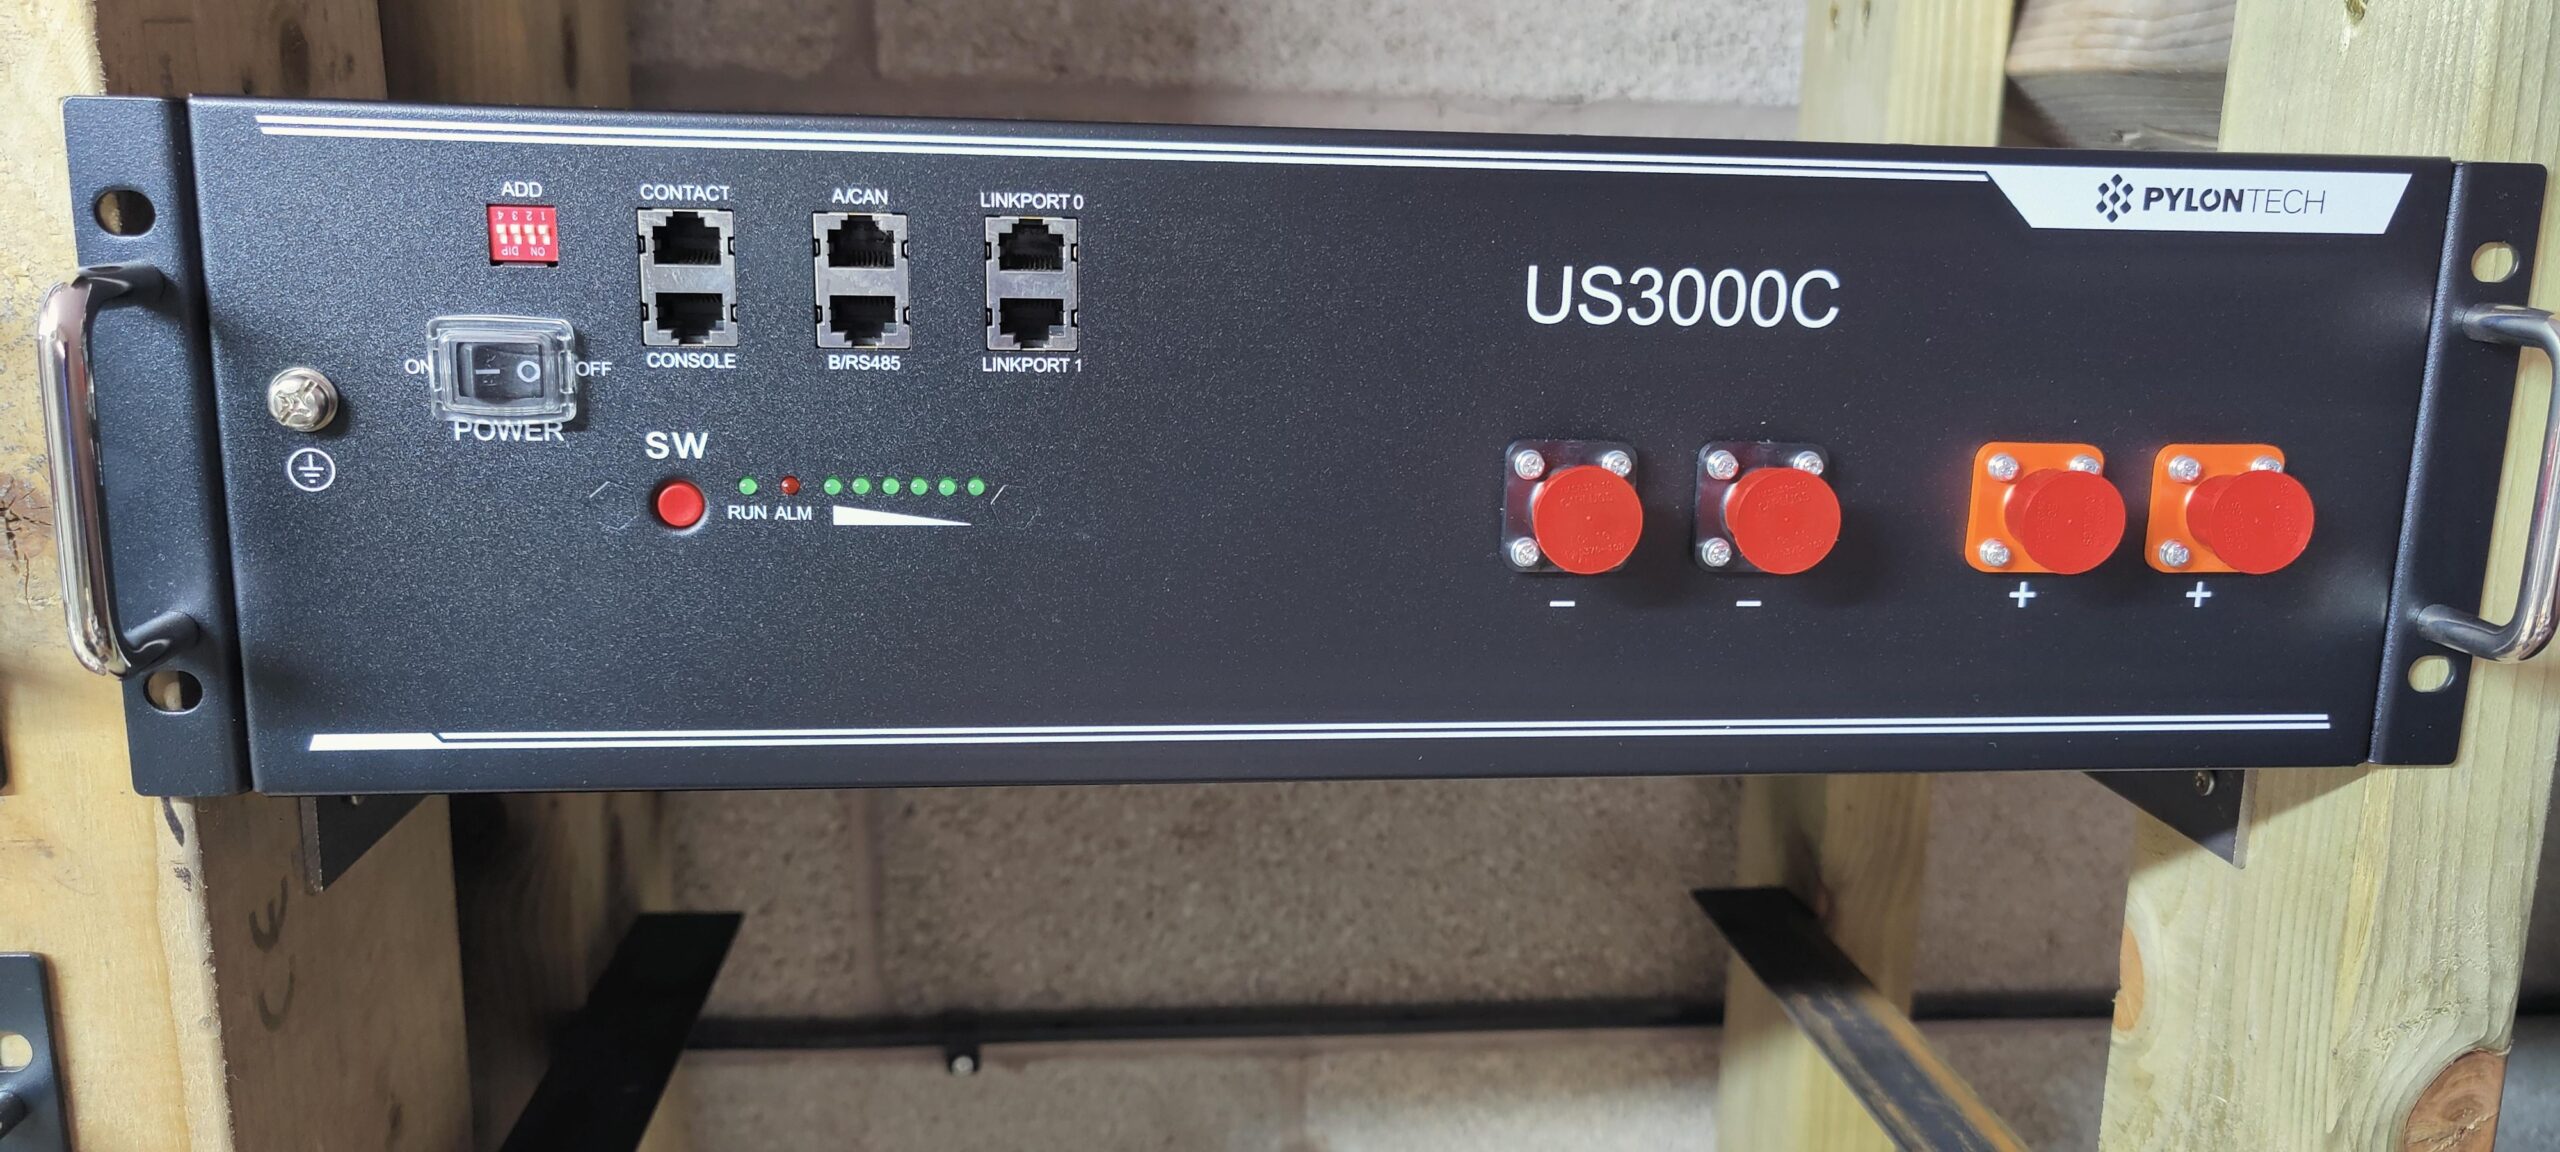
The new US3000C looks a little different to the original US3000B (I think the original units were called this but they are often referred to as just US3000).
Note how all the PylonTech connectors are now RJ45 types and labelled up a little different: we connect our inverter to the A/CAN socket.
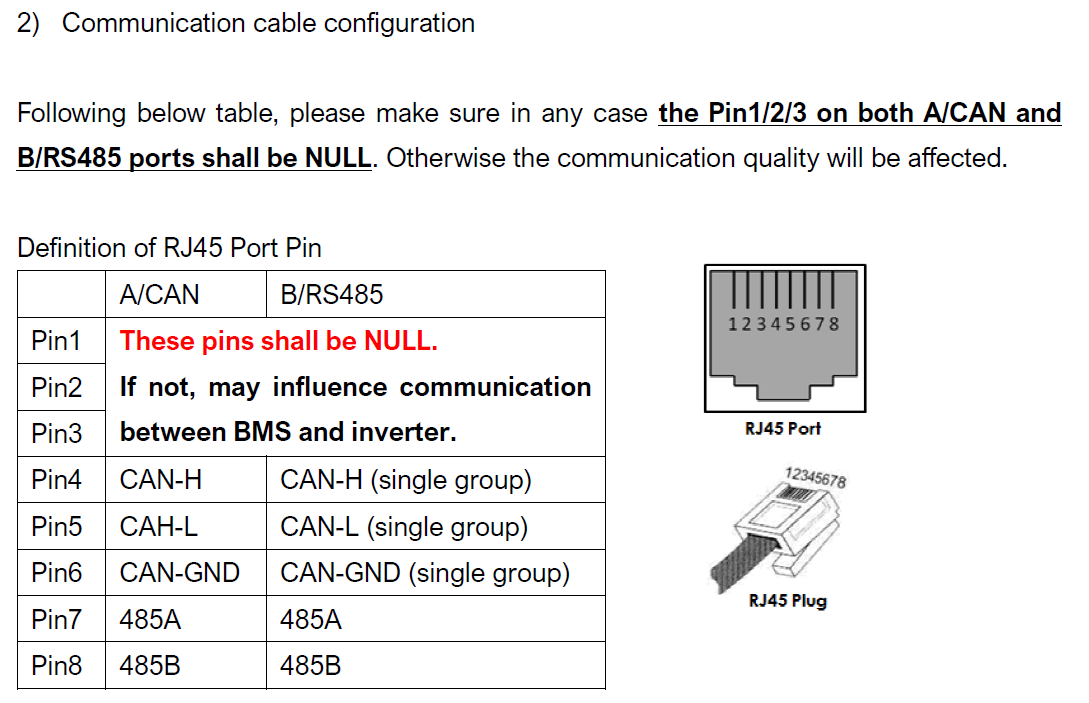
If we look at the datasheet for the US3000C, all looks the same as the US3000B (the CAN connection at least) but there is a new caution written in red and worded slightly strange – These pins shall be NULL.
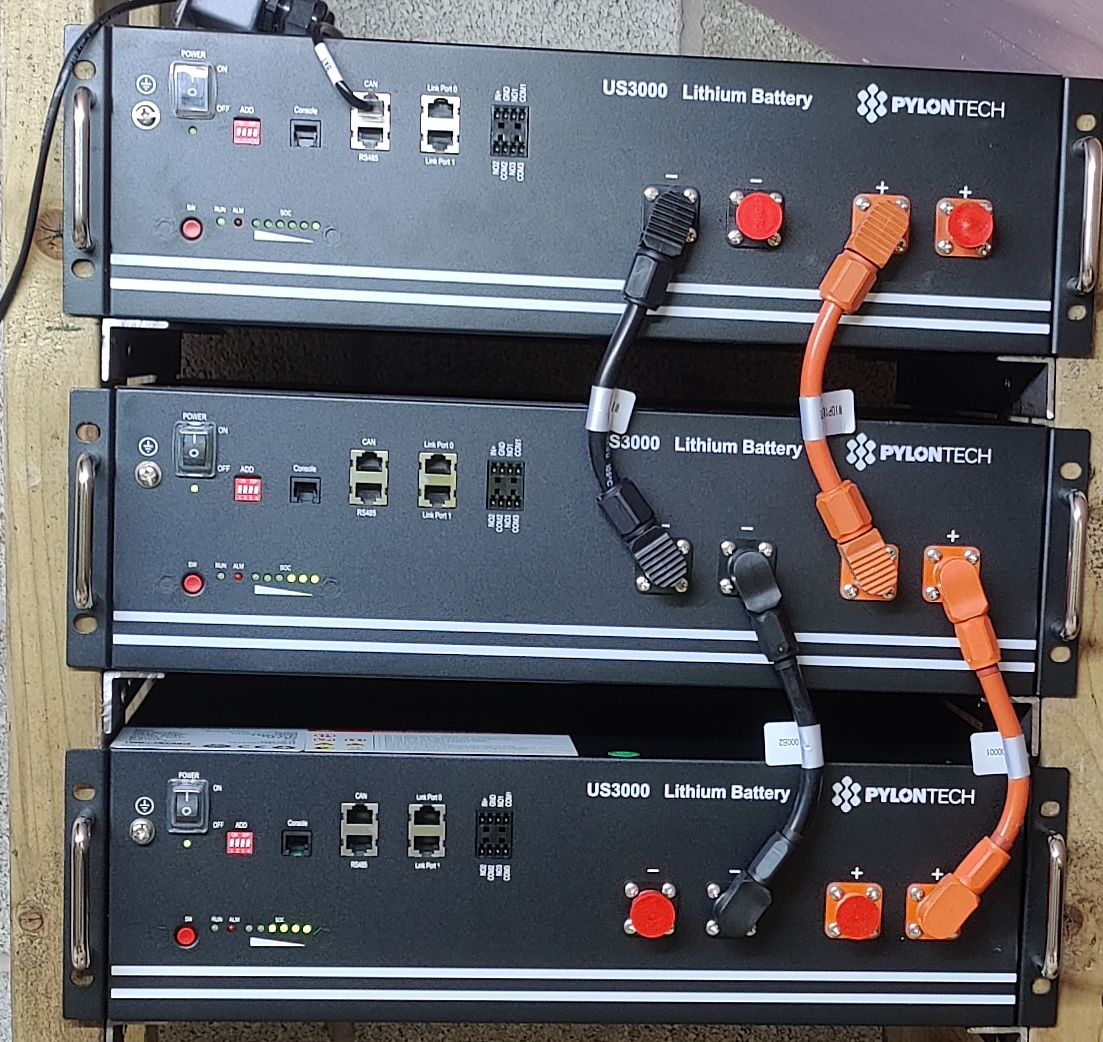
The original US3000B has different socket configurations but seems to be compatible.
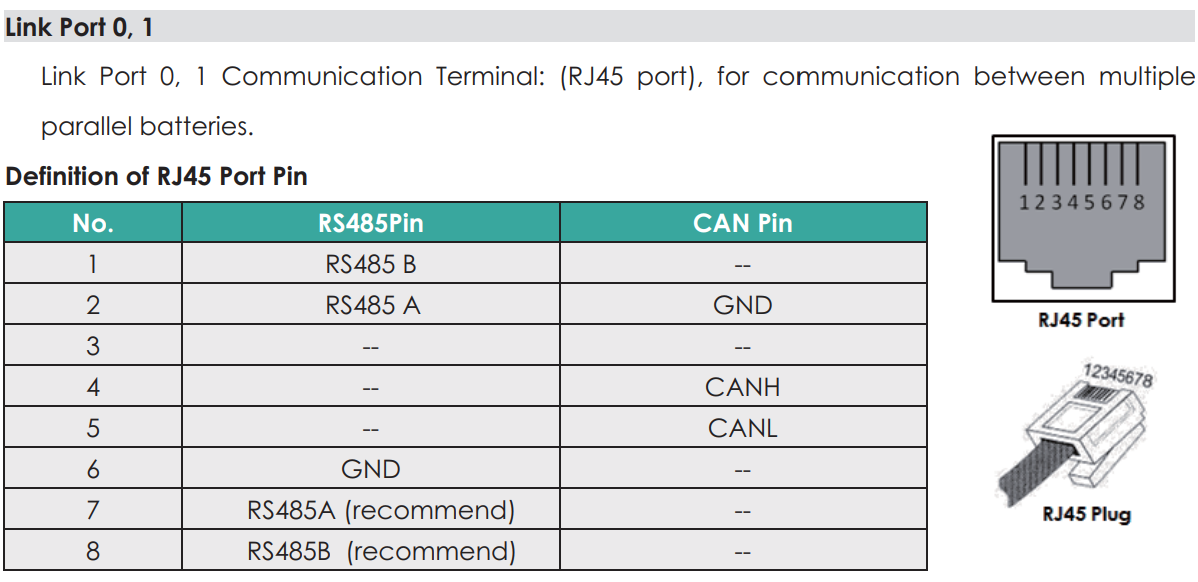
Looking at the US3000B datasheet, the CANBUS connection is in the same place but the connections around it have changed. Especially the RS485 pinouts and there are no warnings.
On the CAN side there is an extra GND pin but his is a red herring and is not relevant.
If you look closely at the LUX supplied data lead for the PylonTech batteries, you’ll realise that all of the RJ45 pins are connected, meaning that if there is anything connected to the other pins on the Lux LXP3600 side, then we will directly mess with pins 1 to 3 on the PylonTech Battery that we were (sorf of) warned not to use.
Making a New CAN Lead
You have two options to make your Batteries work again. The easiest way, if you possess a decent and fine cable cutter is to carefully cut away the cores of the Lux supplied cable. If you do this correctly then all will be well and the Lux LXP3600 will report 50AH capacity for each of the connected US3000 Batteries. If you make a mistake, however, then you risk not being able to communicate with the batteries at all.
The other (and highly recommended) way is to make up your own lead, which is not difficult but you will need:
- some RJ45 through-hole plugs (they make life easy),
- an optional labeller to identify each end,
- a length of RJ45 cable and
- an RJ45 crimper.
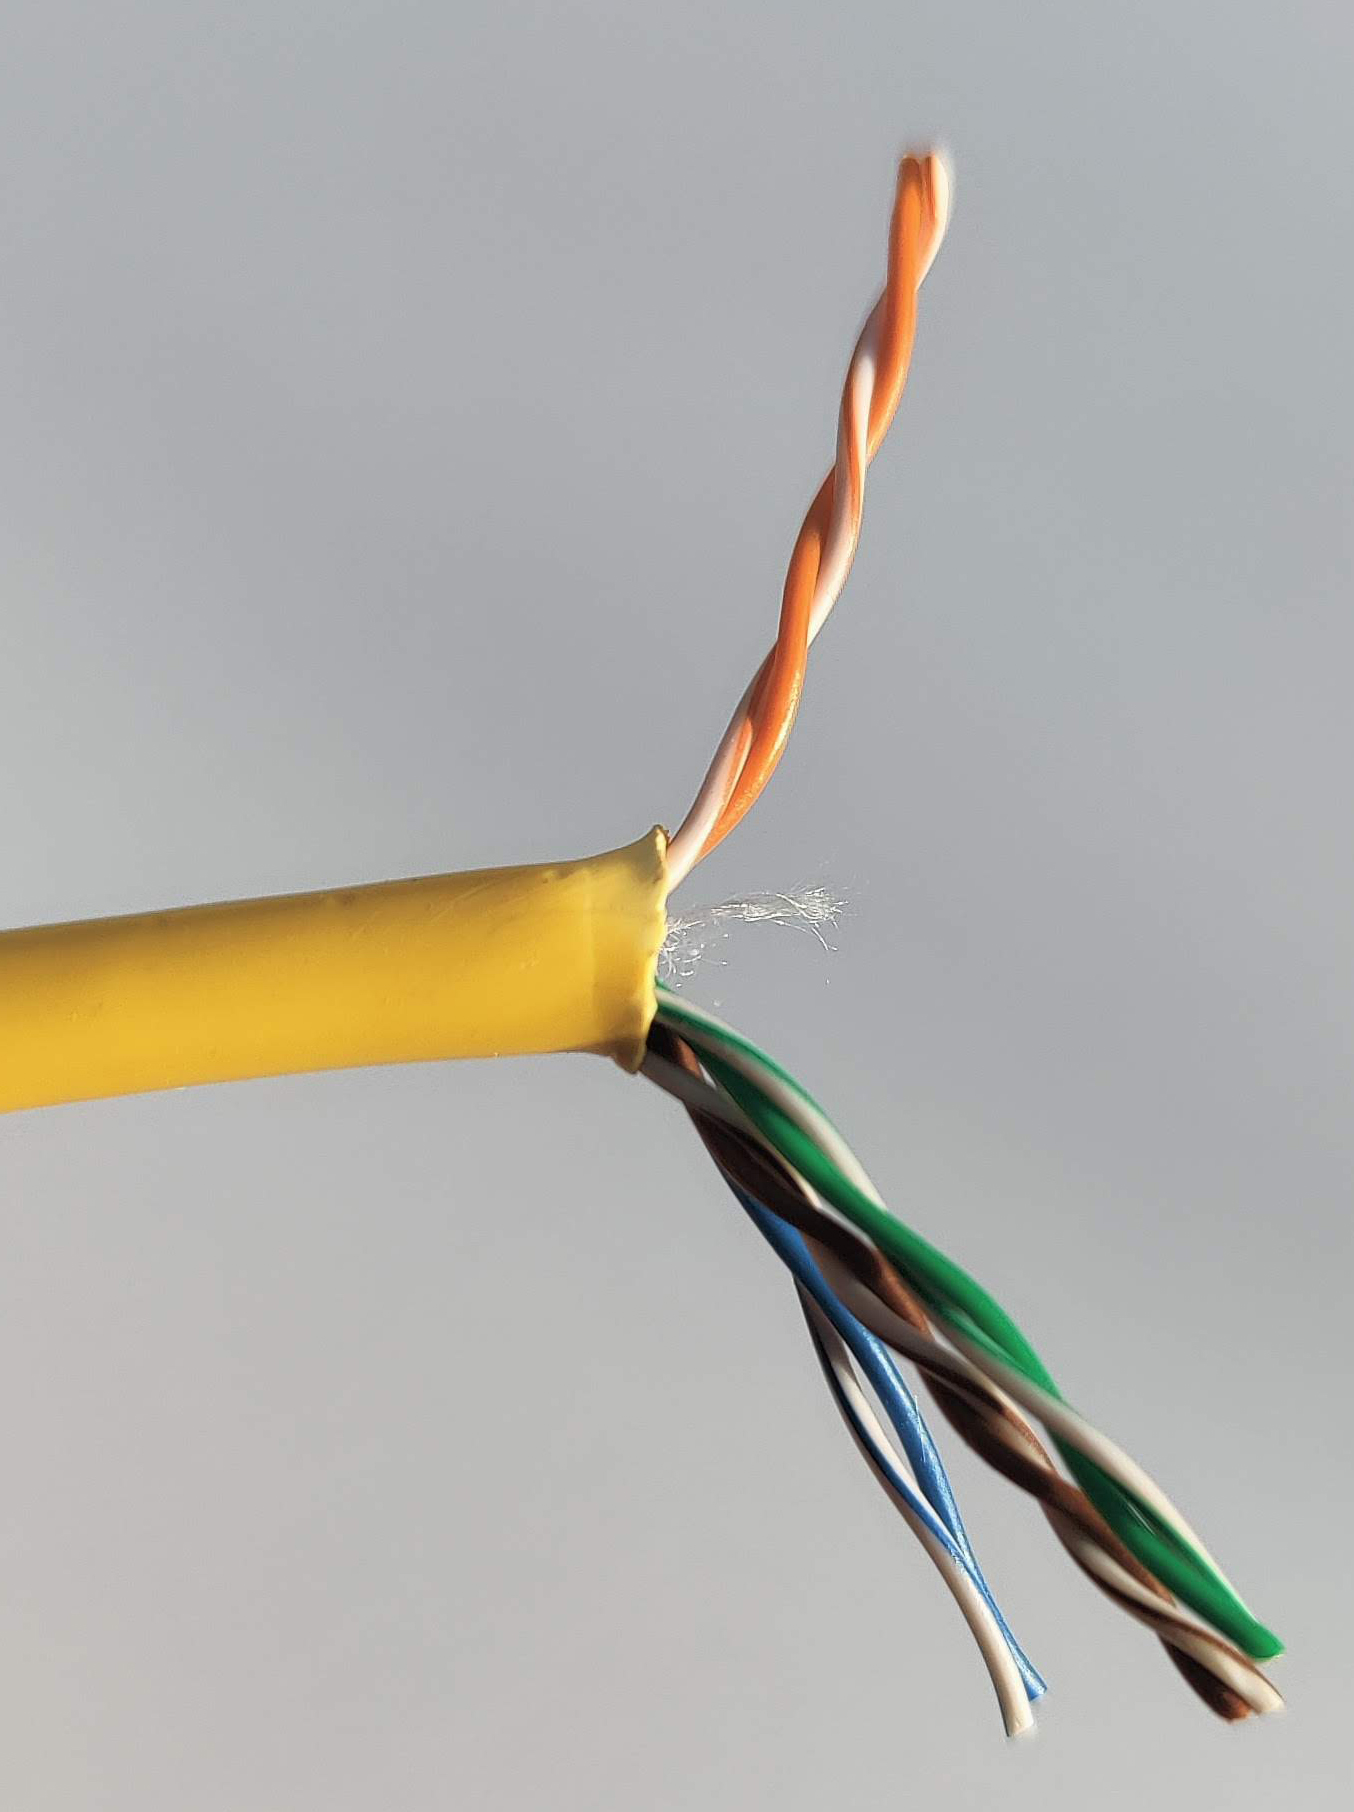
The first step is to strip back the outer cover from your Cat5 cable, separate a single pair and cut off the other pairs.
Do this at both ends of the cable. These leads have the individual pairs twisted together with a solid colour and striped same colour. Make sure you keep the same colours together because that’s how twisted cable reduces electrical noise interference from the outside.
Nominate one end to be the LUX Inverter end and the other to be the PylonTech end by marking them because each end will be unique. This is important since connecting the wrong plug to the wrong plug will not work, even though they look the same!
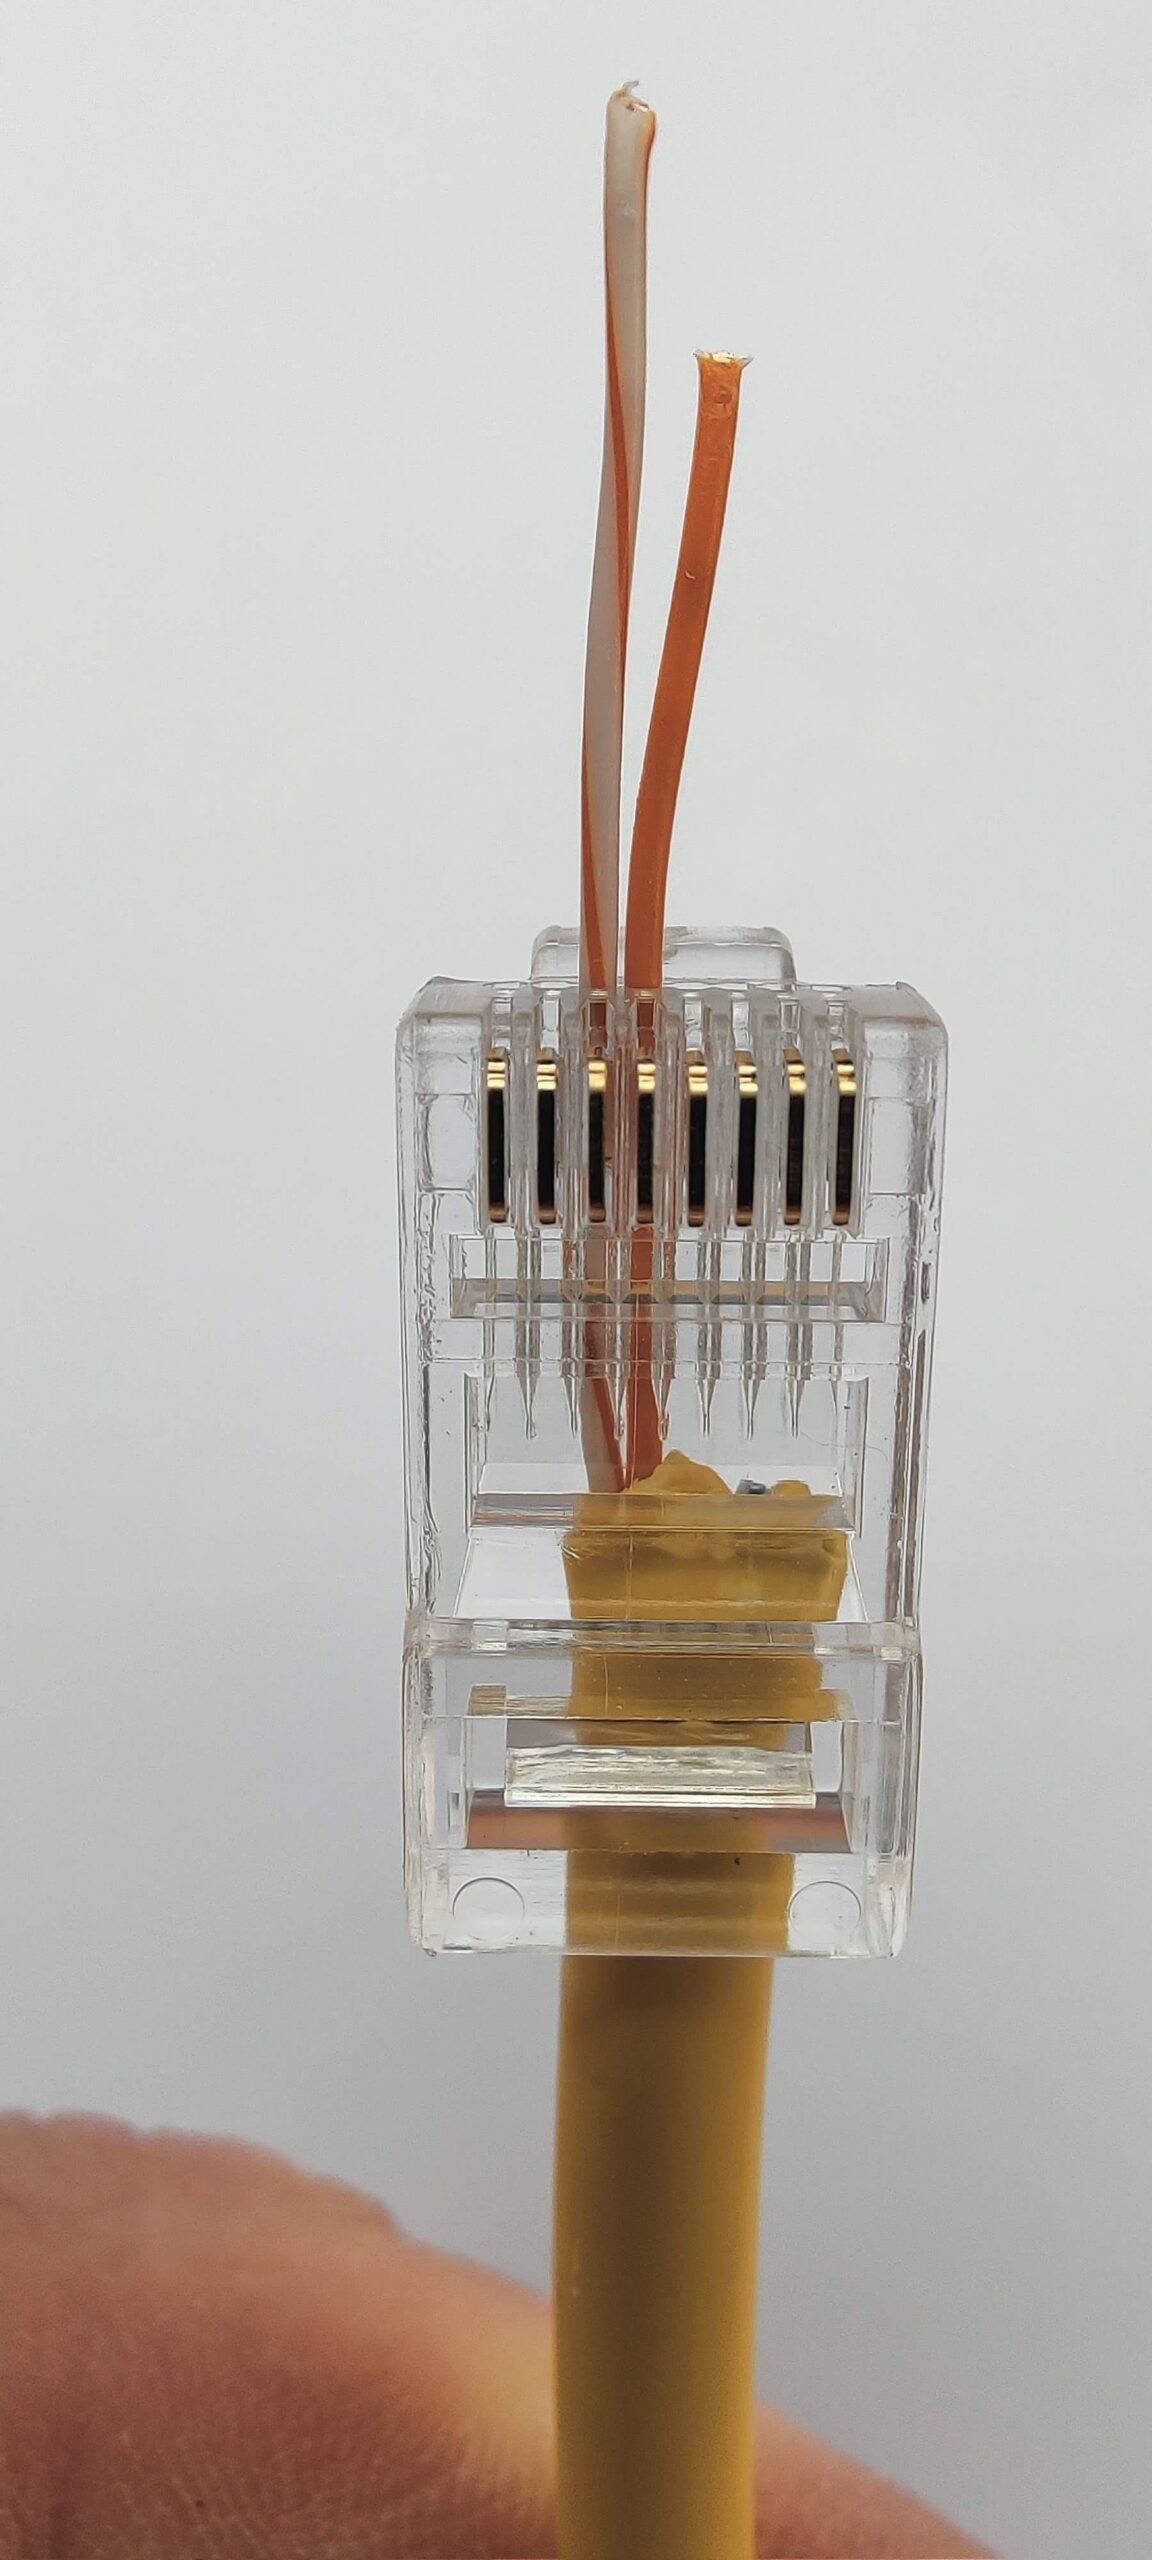
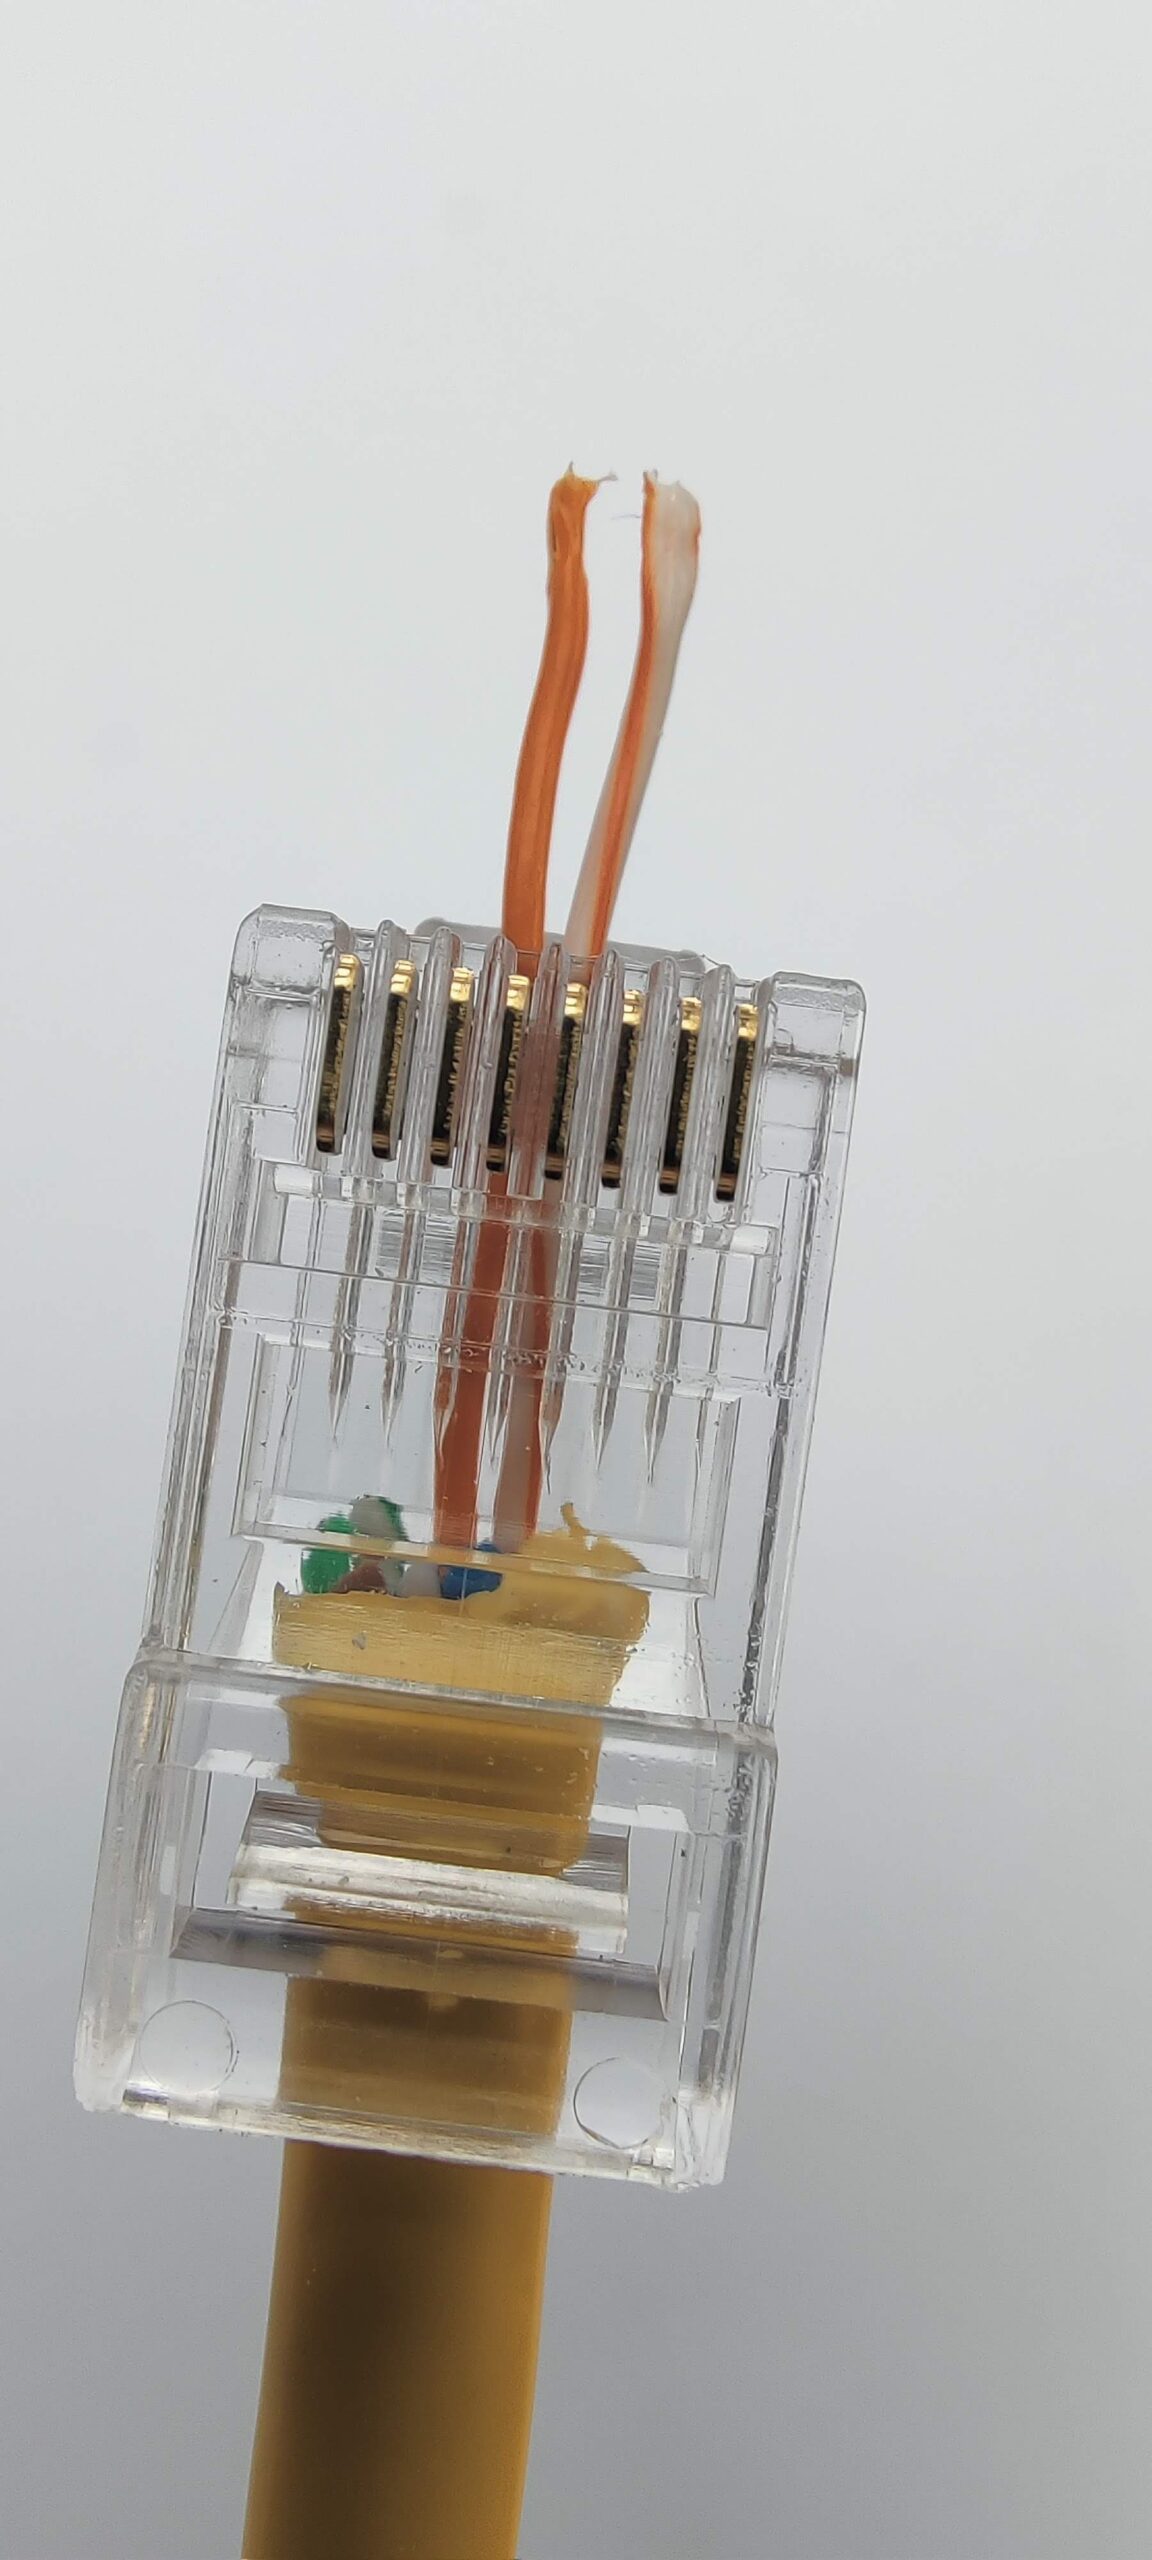
Hold the RJ45 so that you can see the 8 terminals on the top. In this orientation, pin 1 is on the left and pin 8 is on the right with the rest of the pins running in order left to right. Carefully insert your untwisted ends into each of the RJ45 plugs. On the left you can see terminals necessary for the LUX Inverter and on the right are the terminals necessary for the PylonTech batteries.
Remember to swap the order of the pairs around from each plug!
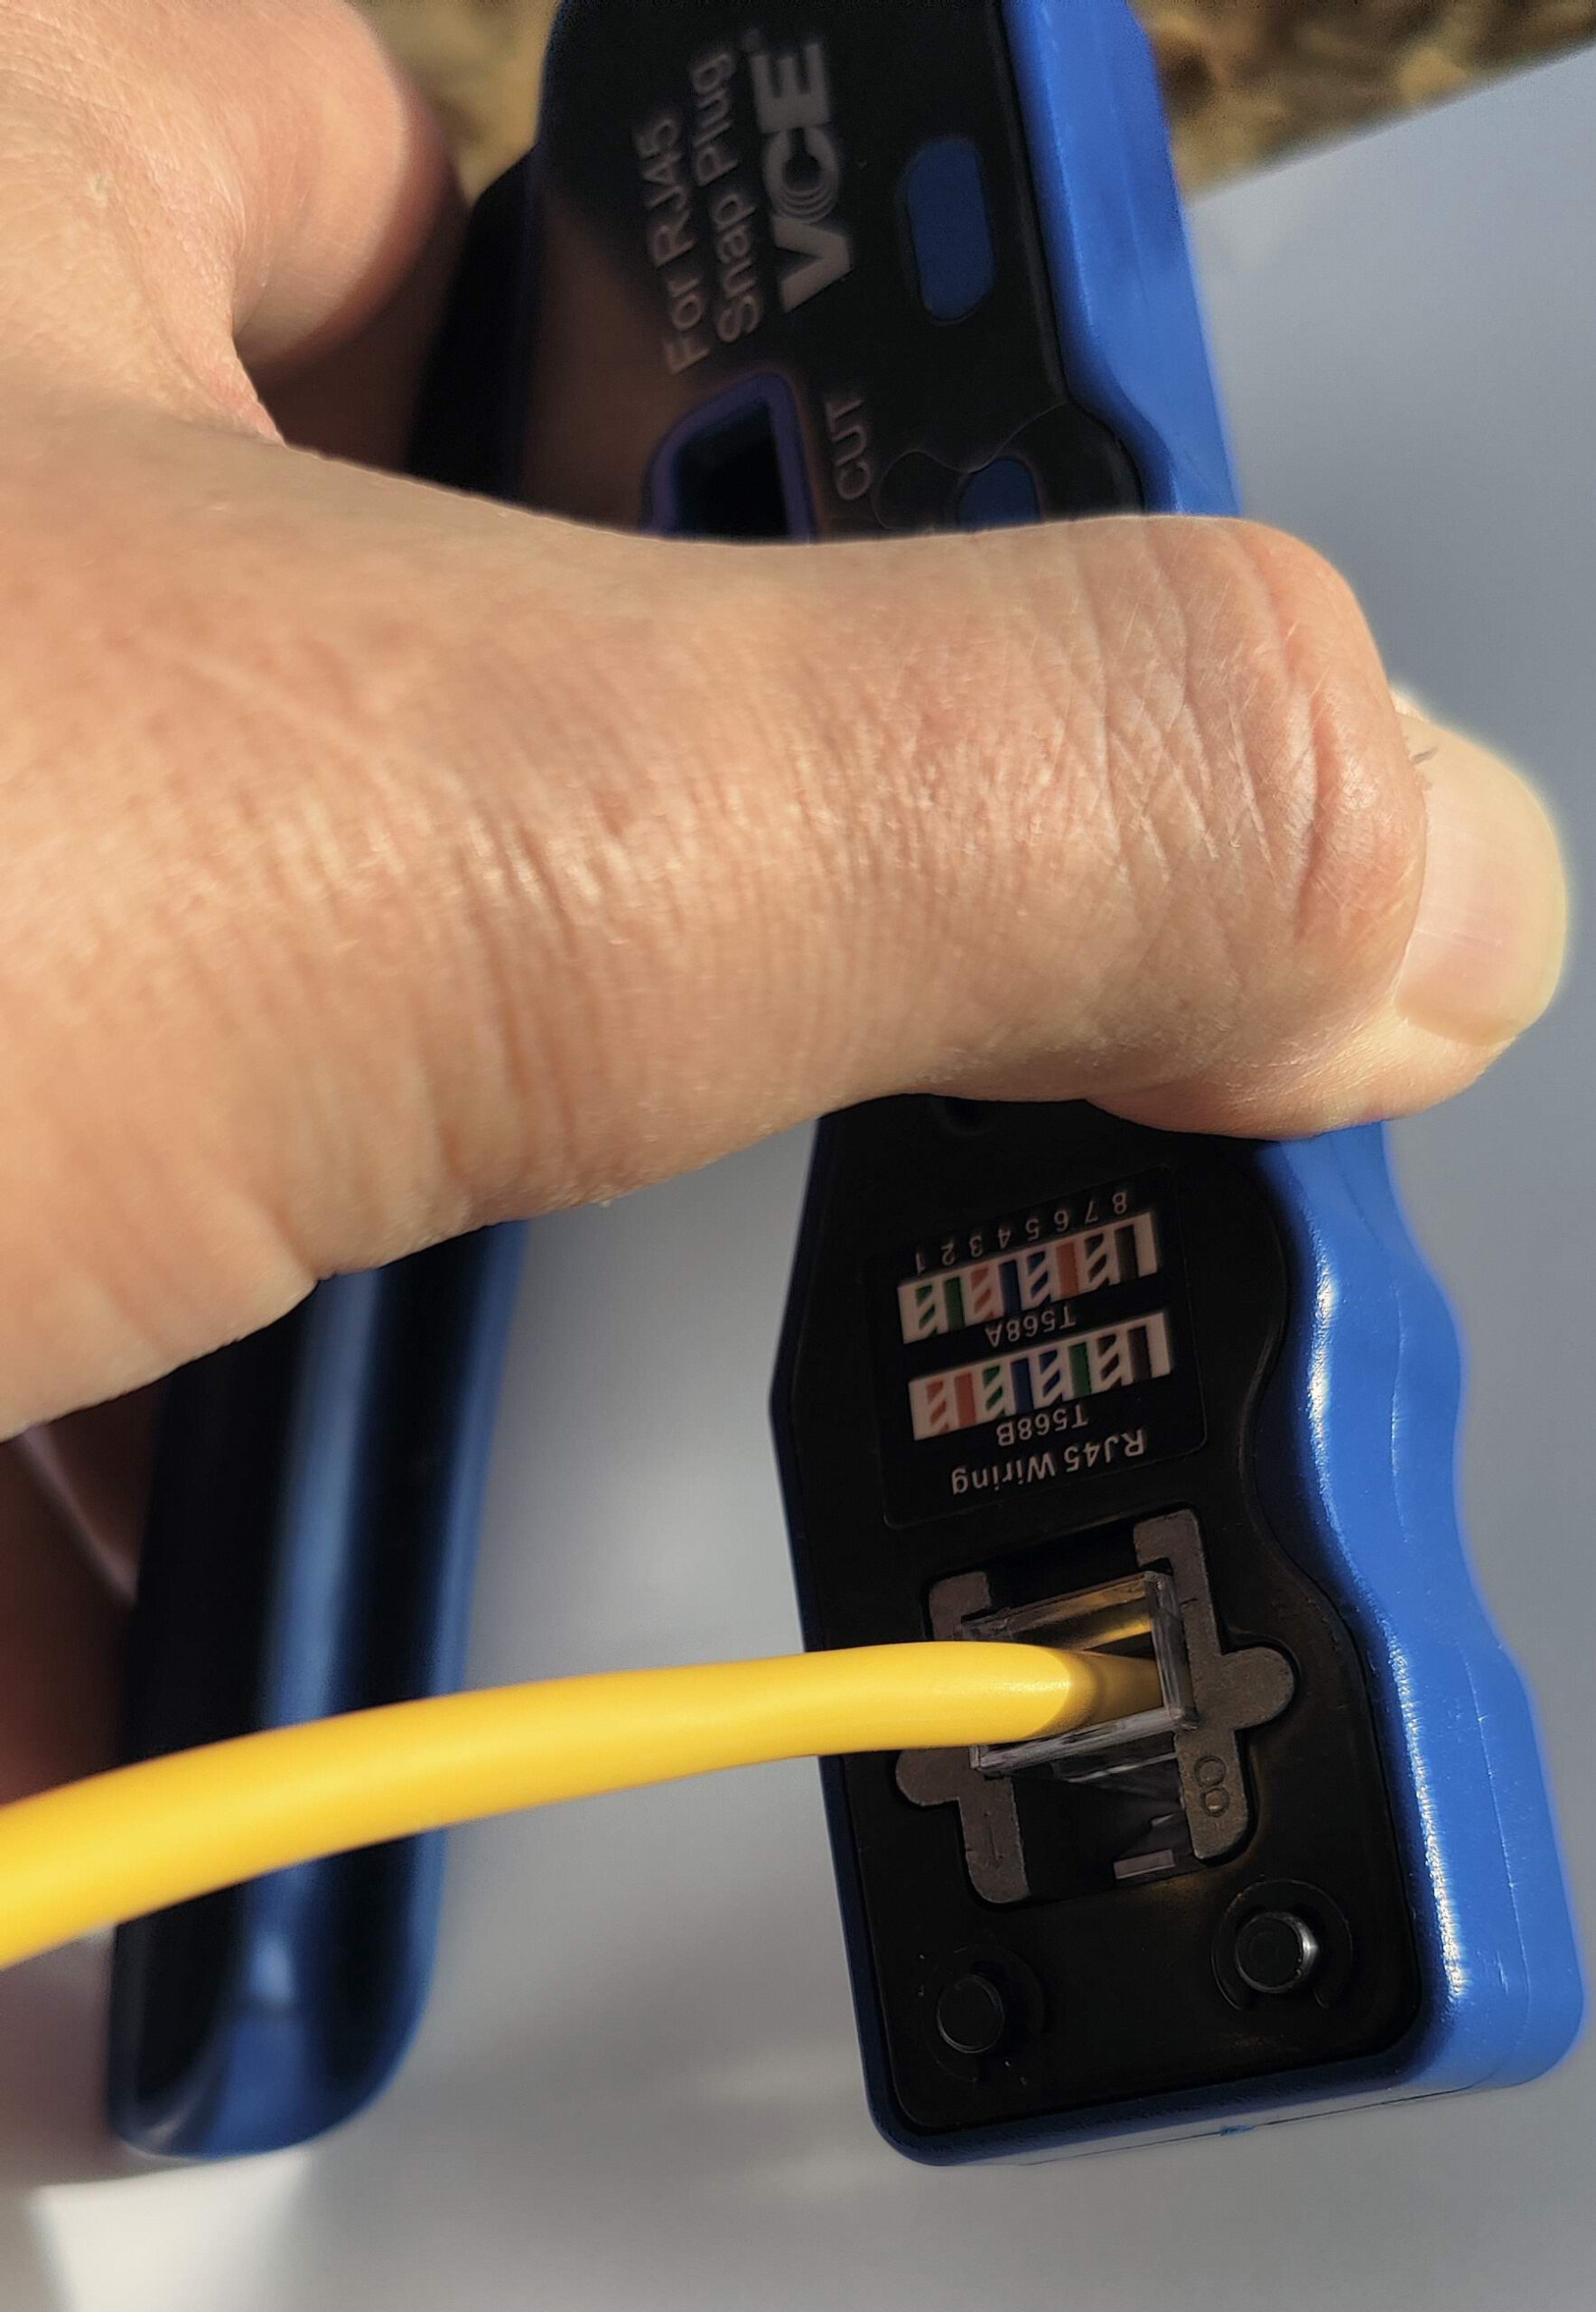
Insert either plug into your crimper of choice and crimp away….
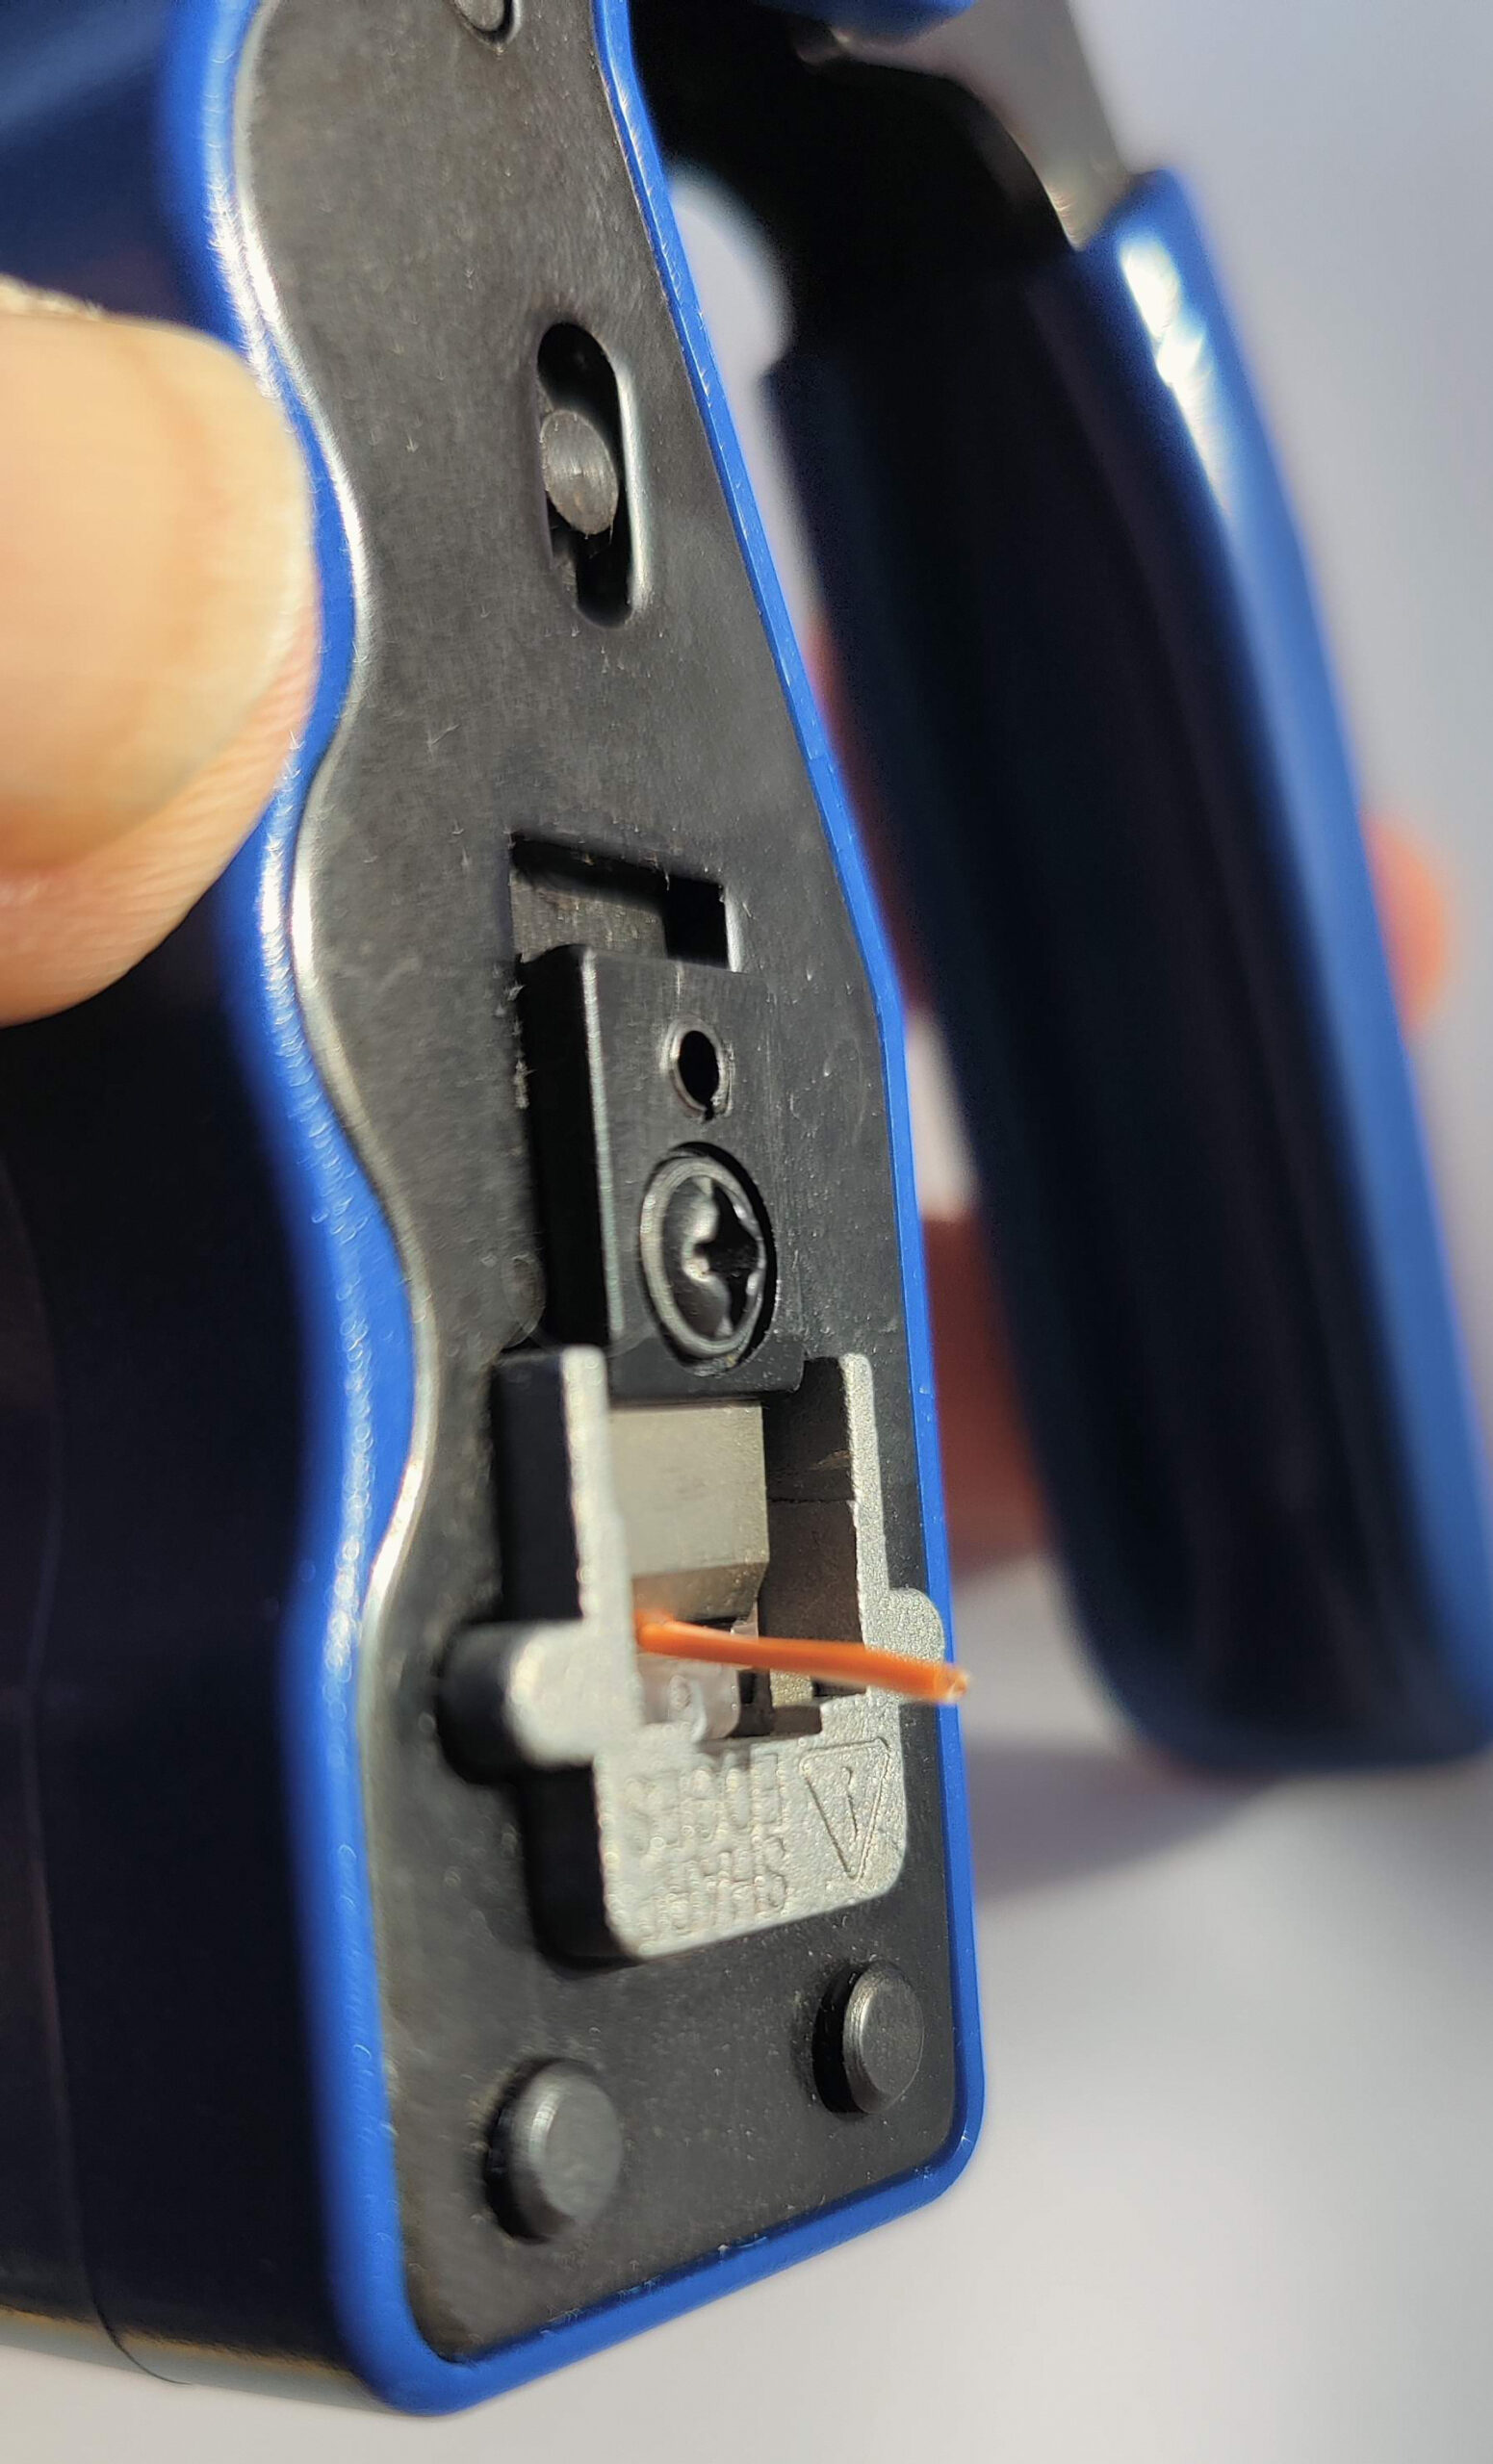
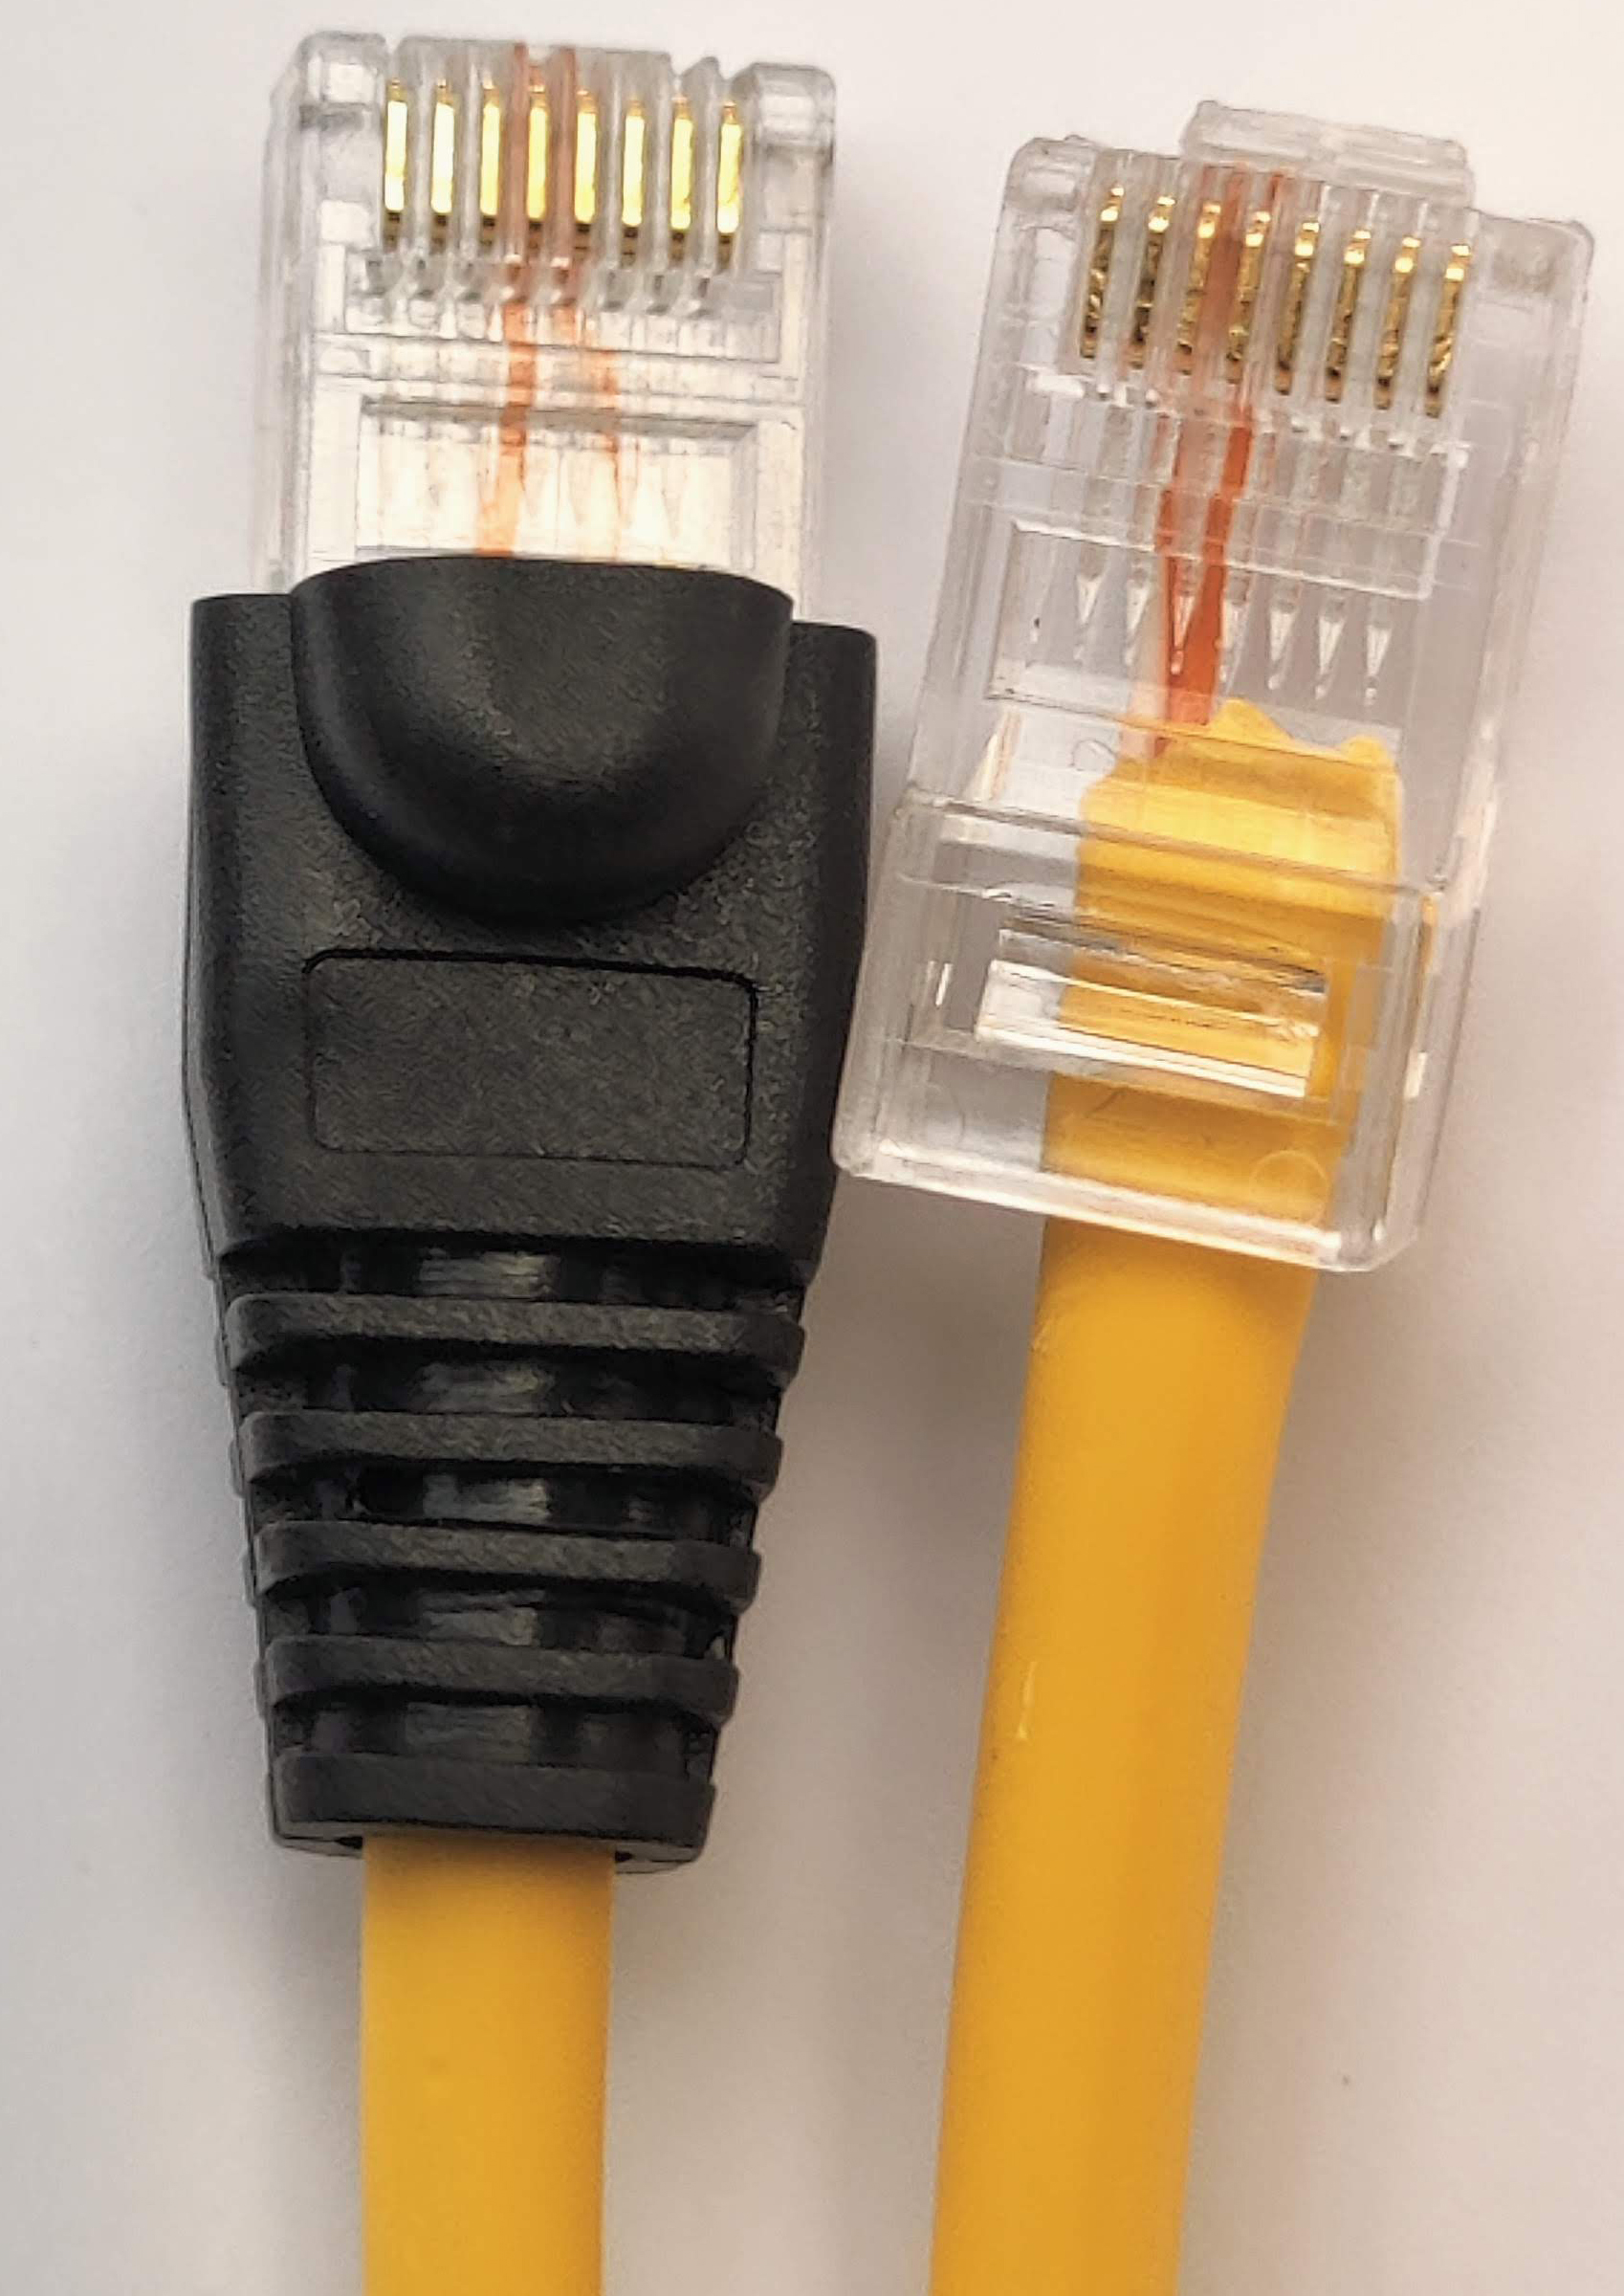
As that’s it, all done! Although the anti-snag boot is twisted by 180 degrees, your cables should look like this.
Since pins 3 and 4 are filled, the plug on the left fits into the LUX CAN RJ45. The plug on the right has pins 4 and 5 connected, so this must plug into the A/CAN port of the PylonTech battery, regardless of whether they are US2000/ US2000C or US3000/ US3000C.
This is Amazing Stuff, Andy but Can I Still Use my New PylonTech Batteries While I Wait for my New CAN Lead?
If you have a US3000B or US2000B battery in parallel, then yes. As an interim, all you have to do is plug in the standard LUX cable into the second PylonTech battery. The LUX inverter will report the lower capacity but you will still be able to use the batteries.
